
Click to go to the FrontPage version.
To modify text, imagine that you're simply using a word processor. Select the text you want to modify and choose a Properties Palette icon.

Once a word or line is selected, the Format Menu will allow you to choose various lists and heading styles.

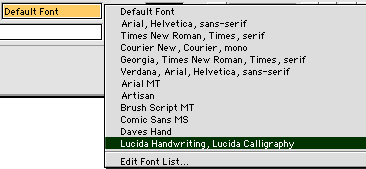
You can change the font style by selecting the text and using the Font Menu.
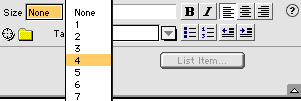
You can change the size of your text with the Font Size Menu. As well, once text is selected, you can make it bold, italic, underlined, and even justify it by using the various icons on the Properties Palette.
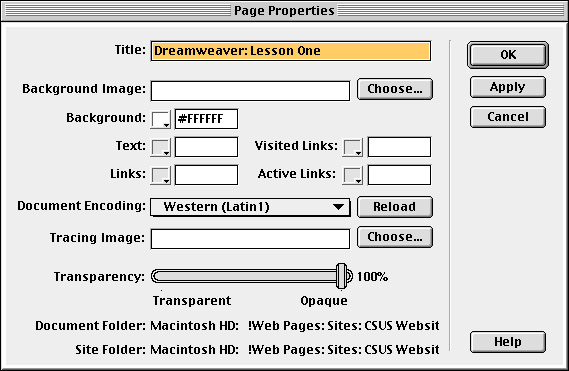
Changing the title of your page requires that you visit the Page Properties window. Just go to Modify => Page Properties ... and you'll see a familiar window. Simply type in a new title in the title box. In the image below, you see that the page in questiion is titled "Dreamweaver: Lesson One". Entering an appropriate title is important. Don't forget that the title is what your users see when they bookmark your page. The title is also at the top of the browser window. Most importantly, the title is NOT the same as the filename.
When you're finished making changes to a page, just use the Command + S keystrokes. If you want to change the filename, you need to use File => Save As ... and select a new filename. Be aware that when you change filenames, all documents linked to the former filename aren't linked to the new file. Further, if you save with a new filename to a different directory, your relative links to files and images will become corrupted. The best way to avoid these problems is to plan ahead and establish your website folder with some thought to its organization and structure. That way, you won't need to change filenames and move things around.
Changing the background of your webpage requires another visit to the Page Properties window. In the Page Properties window above, you can select the background color by clicking on the box next to Background. You may add a background image by clicking on "Choose" next to the Background Image box. You do need to have backgrounds available in your image or background folder in order to do this.
In the Page Properties window, you may also change the color of links, and text for the entire page.
Changing images on a webpage is just a matter of selecting the image, deleting it, and adding another in its place. There are a ton of other cool little effects to explore in Dreamweaver. If you look in the Objects Menu, you might want to explore and learn about adding "Rollover Images". This is a good opportunity for you to use the Dreamweaver Help. Be aware, that some of these effects will be lost to those with older browsers, and occasionally, you will get complaints that your webpage causes browsers to crash.
Objects can be linked. This means that images and text can have links. You need to select the object first and then place your cursor in the Link box on the Properties Palette. Type a URL or an anchor. In the example below, you see that I've linked to an anchor named "top". Notice that you will need to enter the pound sign before the name of the anchor.
![]()
You can also click on the folder icon ![]() to the right of the Link box and select a link on your hard drive. A window
opens up and you can browse to a file and add, delete or replace links.
It's just that simple. In the image below, you can see that even the anchor
links show up when you click on the folder icon.
to the right of the Link box and select a link on your hard drive. A window
opens up and you can browse to a file and add, delete or replace links.
It's just that simple. In the image below, you can see that even the anchor
links show up when you click on the folder icon.

Below is an example showing the Properties Palette with a familiar URL.
It's important to realize that any document you link to must be uploaded to a server somewhere. These files need to be in the a folder that mirrors the one on your hard drive. Also, with the correct extension on the filename, you can also link to Excel and PDF documents provided they're also uploaded to a server. Experiment with this a bit and see what works for you.
Refer to the uploading web to review this procedure. It is important to realize that you will make changes and upload many times before you consider a web finished. A good ratio to consider is 8 uploads for every finished web. Web authors sometimes refer to this as the review, edit, upload cycle.
![]()